Since you can’t use Lightroom’s Preview in Browser feature with Pages (or most TTG plug-ins for that matter), if you want to preview your site before deploying live you only have two options: create a sub-domain on your server and use that as your testing ground, or use a virtual server on your local machine. I use Windows so that means I can use WAMP or XAMPP. I have both but I prefer WAMP as my test platform. That’s probably just because I used WAMP first and I’m the most familiar with it.
This post is on how to set up a TTG Pages-based test site in WAMP. I imagine it will be similar for you MAMP users.
This is the text version of my video tutorial.
First, a few assumptions:
- You’ve installed and set up WAMP (or MAMP) and know how to us it
- You’ve already designed and are ready to export Pages, Gallery, Autoindex, and Stage, depending on what you’re using
- You’ve installed the CE4 Publisher Lightroom plug-in
Here are a couple of options for your site in WAMP:
If you haven’t got anything in the C:/wamp/www/ folder, you can simply export Pages and copy the contents of the exported folder directly to the C:/wamp/www/ folder.
If you already have other items in the wamp/www/ folder, you can export Pages directly to the wamp/www/ folder and just name it “pages” or whatever you want. (letters, numbers, hyphen, and underscores only. No spaces in the name)
My suggestion is to put your installation in its own folder. This way you can still use WAMP for other testing if wish.
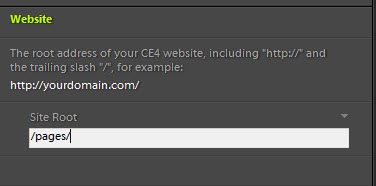
If you are going to directly export to the wamp/www/ folder, be sure to first set up the Site Root in Lightroom to /name-of-export/ . Where “name-of-export” is the actual name you give your export. If you plan on exporting and then copying the contents of the exported folder into the wamp/www/ folder, you can use just a forward slash / as the Site Root.
Be sure all of your other TTG plugins for this site are using the same Site Root. As you can see, I’m using /pages/. The name of the export is also “pages.”
Export Pages
If this Pages installation is going to be the only thing in the C:/wamp/www/ folder then export to some place on your hard drive where you can find it. Copy the contents of the exported folder and paste them into the C:/wamp/www/ folder. Otherwise, export directly to the C:/wamp/www/ folder and name the export as you wish. I’m using “pages” in this tutorial.
Install TTG-BE and Publisher
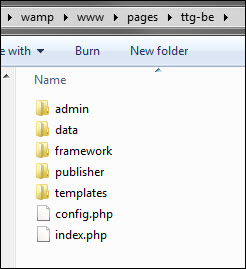
- Copy the unzipped ttg-be/ folder from your TTG download and paste it in along side the rest of your Pages files.
- Open the ttg-be/ folder. Copy the unzipped publisher/ folder to the ttg-be/ folder
Your folder structure should look something like this:
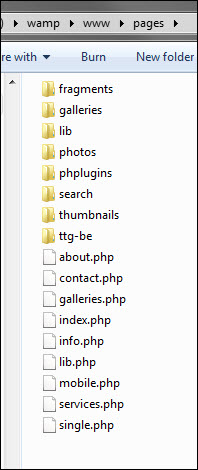
You may or may not have the same files. For example, if you choose not to export the Services page, you wouldn’t have services.php.
In this example I’ve enabled phplugins and have renamed the phplugins-sample folder to phplugins.
Inside the ttg-be folder, place the unzipped publisher folder.
Export your Autoindex, Gallery, and Stage Publisher templates from the Lightroom Web Module. Be sure to follow naming conventions: no spaces and use only letters, numbers, underscores, and hyphens.
- Export CE4 Gallery directly to the ttg-be/templates/gallery/ folder
- If using Stage, export CE4 Stage directly to the ttg-be/templates/gallery/ folder
- If using Autoindex, export CE4 Autoindex directly to the ttg-be/templates/autoindex/ folder
The contents of the ttg-be/templates/ gallery/ folder.
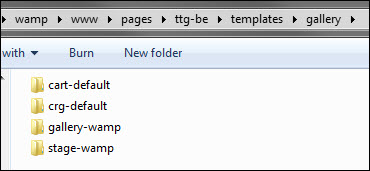
I’ve named my two templates gallery-wamp and stage-wamp.
cart-default and crg-default are automatically included with the latest version of TTG-BE. They can be ignored for now.
Contents of the ttg-be/templates/autoindex/ folder.
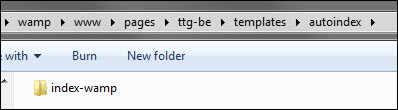
I’ve named the template index-wamp.
All your assets should now be in place and you can visit your site in WAMP. At this point you could log into ttg-be and configure it and any Publisher settings. This is not needed for the site to run though. But it’s a good idea to get familiar with the back end components.
Set up Publisher in Lightroom
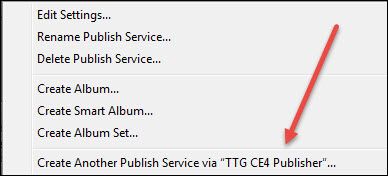
In the Library Module, go to Publisher Services (left hand panel). If you already have a saved Publisher instance, right-click on it and choose “Create Another Publisher Service via TTG CE4 Publisher.” If you have yet to create a Publisher instance, double click on TTG CE4 Publisher and set up a Publisher instance.
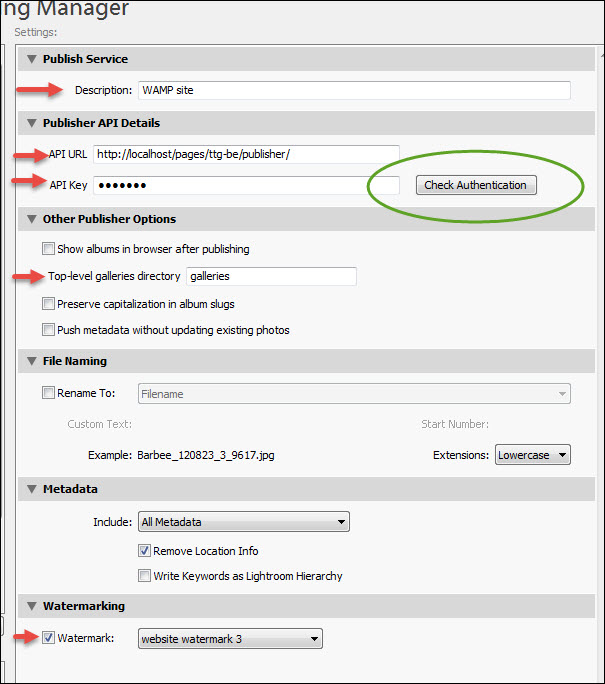
Set up Publisher
- Fill out the Description
- Enter the API URL
- Enter the default API Key: ttg9999
- Make sure Top-level galleries directory is set to galleries
- Set up Watermarking if desired
- Click the Check Authentication button do confirm that all is working correctly
- Click Save at the bottom of the dialog box
Obtain the API URL by going to the home page of your site in WAMP and copying the URL from the address bar. Paste it in the API URL field and append it with ttg-be/publisher/ as shown.
Assuming that the Authentication went well, it’s time to try publishing a test album. From your Lightroom Library, select a few pictures. You don’t need many; this is just a functionality test.
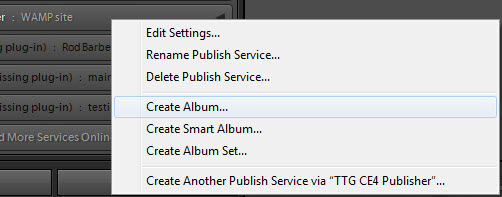 In Publisher, right-click on your WAMP Publisher instance and choose Create Album.
Fill out the Name, Album Title, and Album Description. In the Template drop down, choose your gallery template.
In the Page Content tab, add any text to the Page Copy (md) and Sidebar Copy (md) fields (md stands for Markdown). Use the Page and Sidebar Copy placement buttons to include any text from your template.
The easiest way to add text to the Copy (md) fields is to first write it in a plain text editor and then paste it in. If you need a good text editor, Notepad++ is free and it works great.
Lightroom and Windows don’t quite cooperate when trying to write directly to the Copy (md) fields in Publisher. It’s impossible to add any lines. Hitting the Enter key in any way will knock you out of the box. So save yourself some frustration and just write what you need in a text editor first.

Under the Features Tab you can choose to display breadcrumbs or not and include a name for the album breadcrumb if you want to use something other than what you filled out for the Album Title.
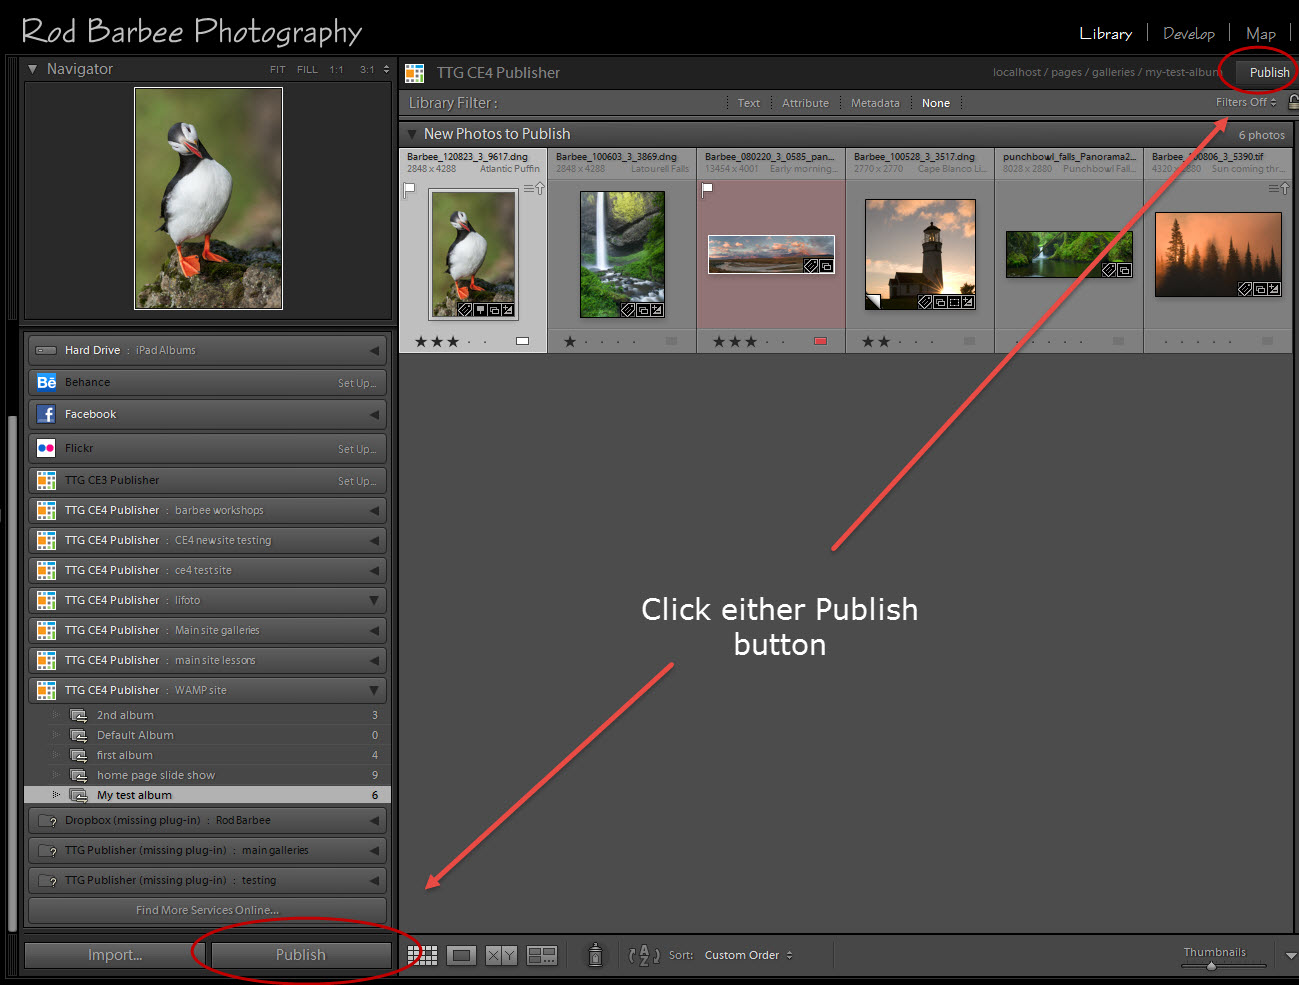
When done configuring things, click the Create button. This creates the Album page on your site. But you still need to publish the images. Do this by clicking on the Publish button. There’s a Publish button at the lower right of the right hand Lightroom side panel and another button at the top right of the Lightroom preview area, directly above the grid of images.
Now go to your site, click on the Galleries menu item and you should see the link to the album on the Galleries page. Click to open your album.
Add more Albums in the same manner. To create Album Sets, do basically the same thing. Don’t bother choosing any images though as Lightroom’s Publish Service won’t export any pictures with Album Sets. That’s because they’re just meant to hold albums.
From here you can add album sets and more albums. From Publisher, you can drag albums from one album set to another, just like you’d drag folders in Windows Explorer.
You can also create an album to act as your Home page slide show if you’ve set that option in Pages.
So go crazy and have fun.

